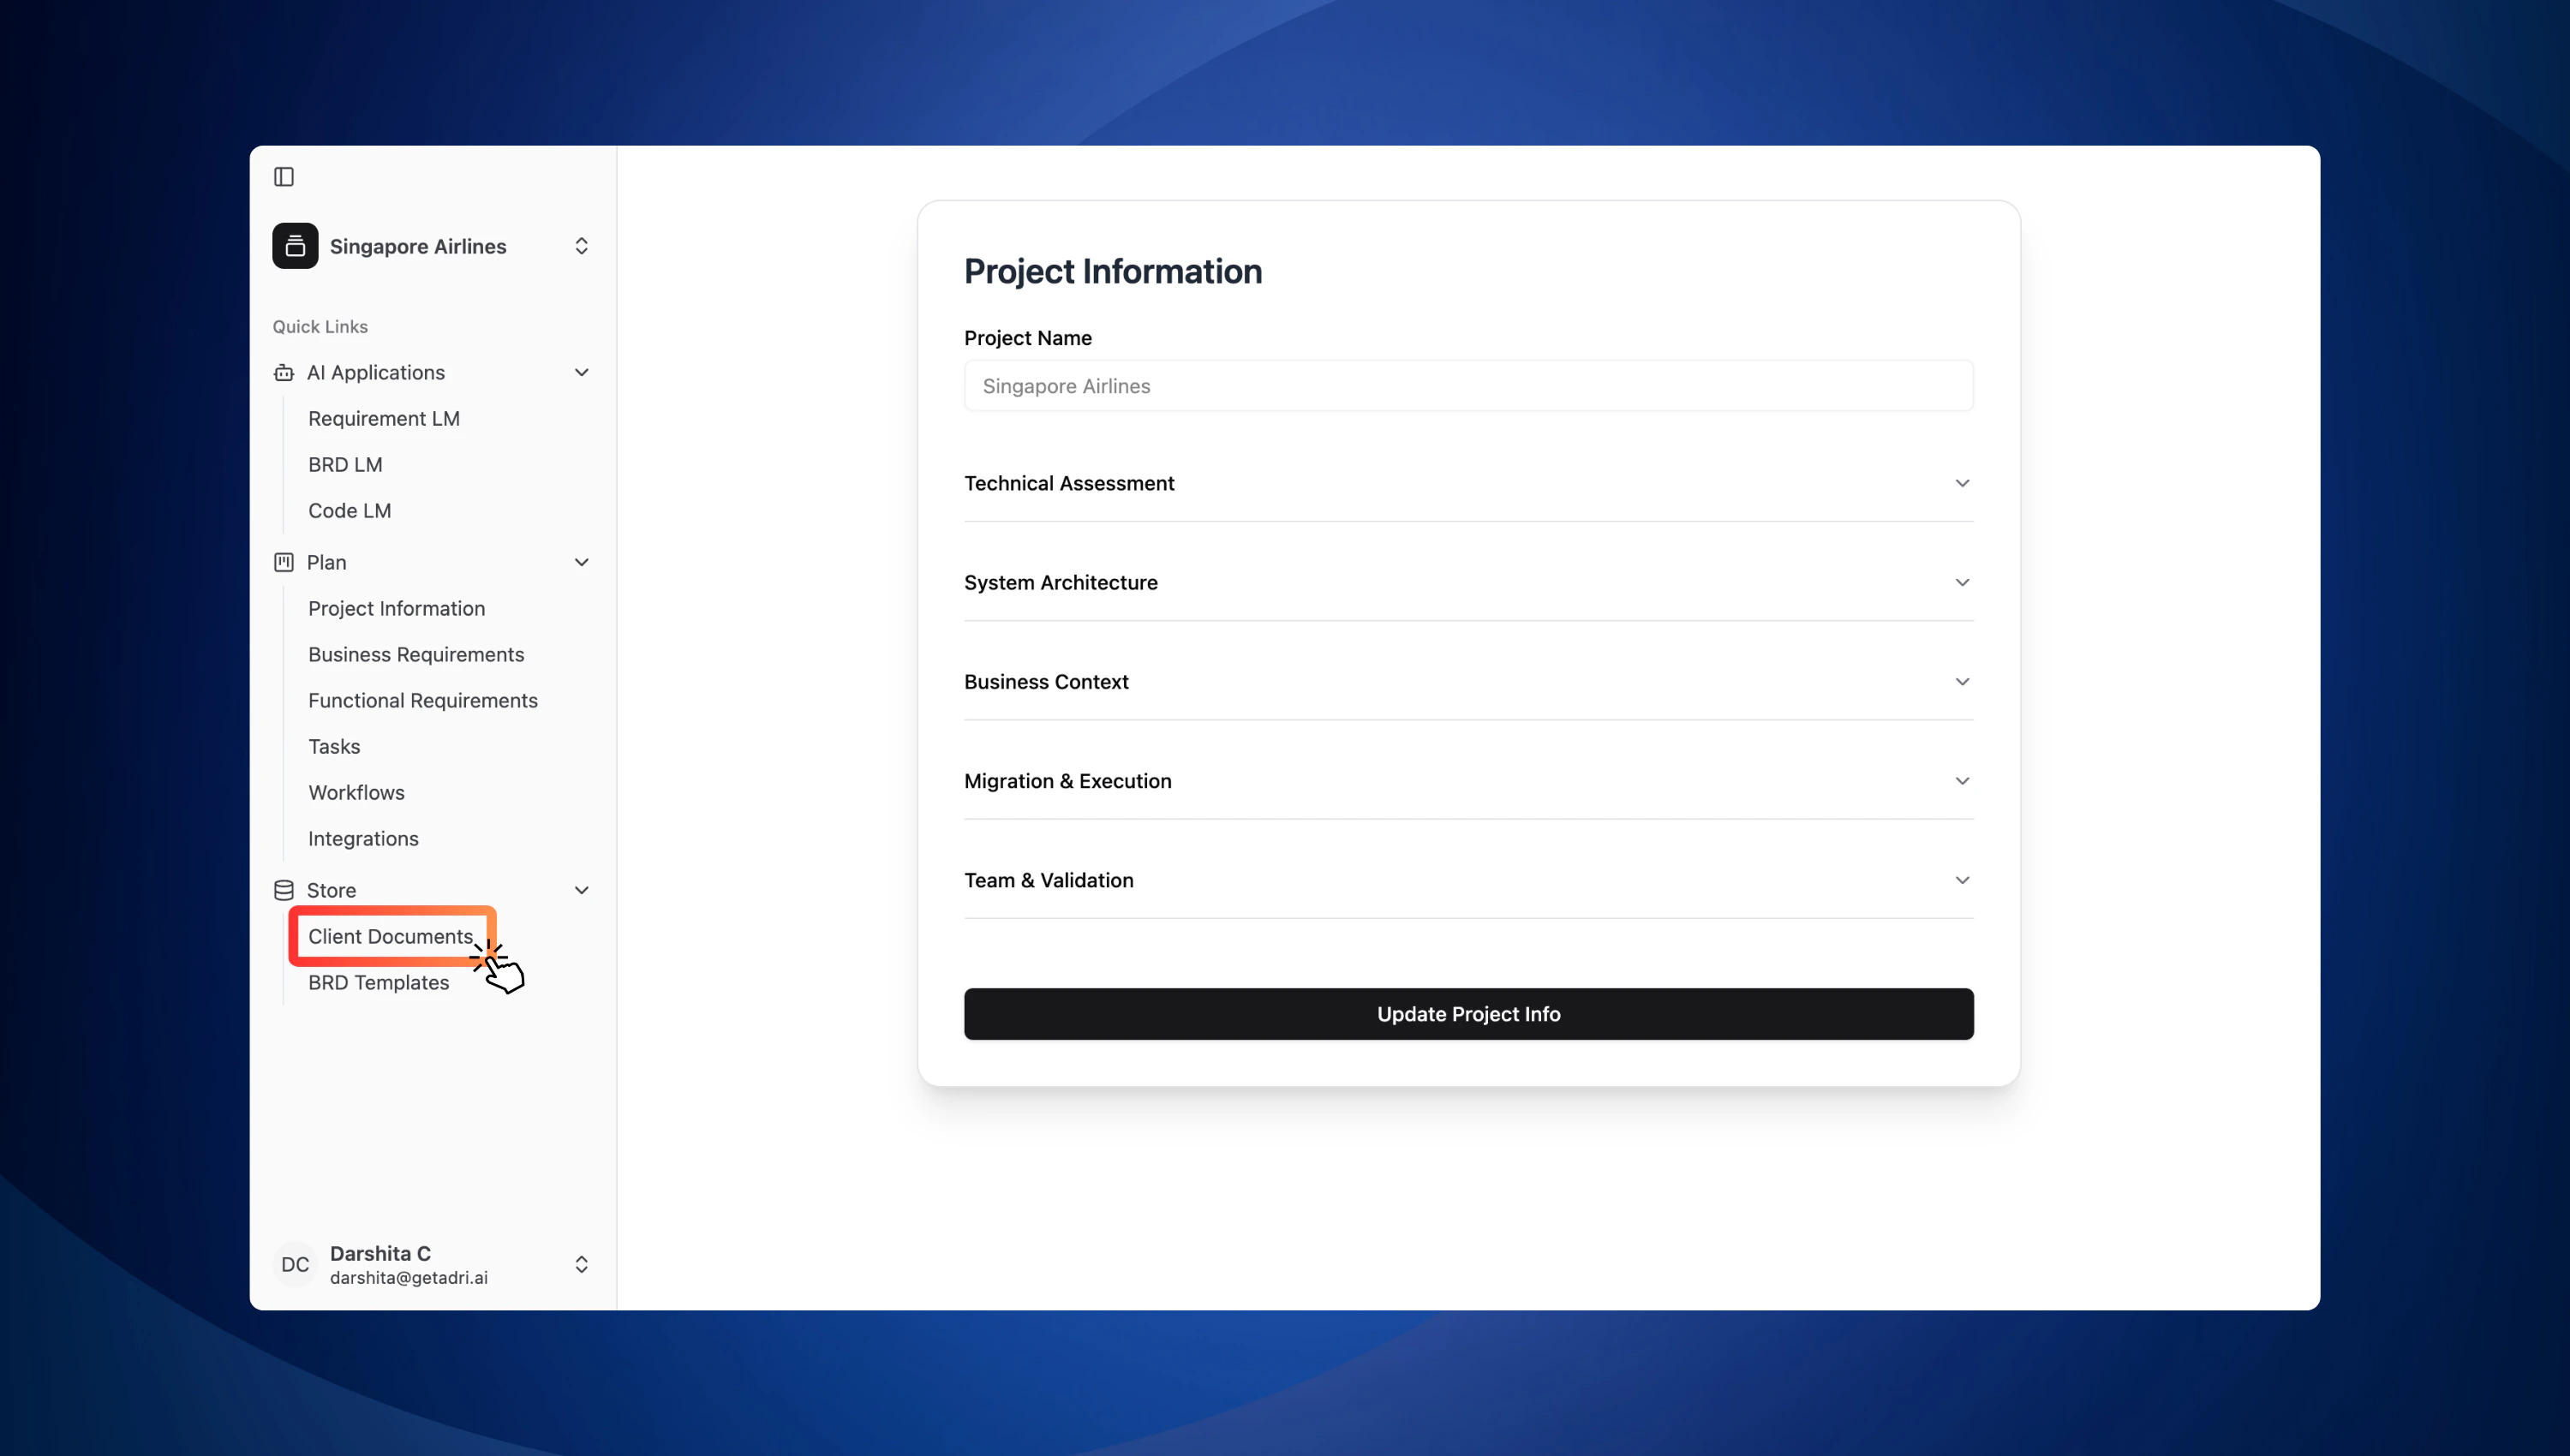
Step 1: Navigate to the Client Documents Section
- Go to the sidebar and click on:
Store > Client Documents
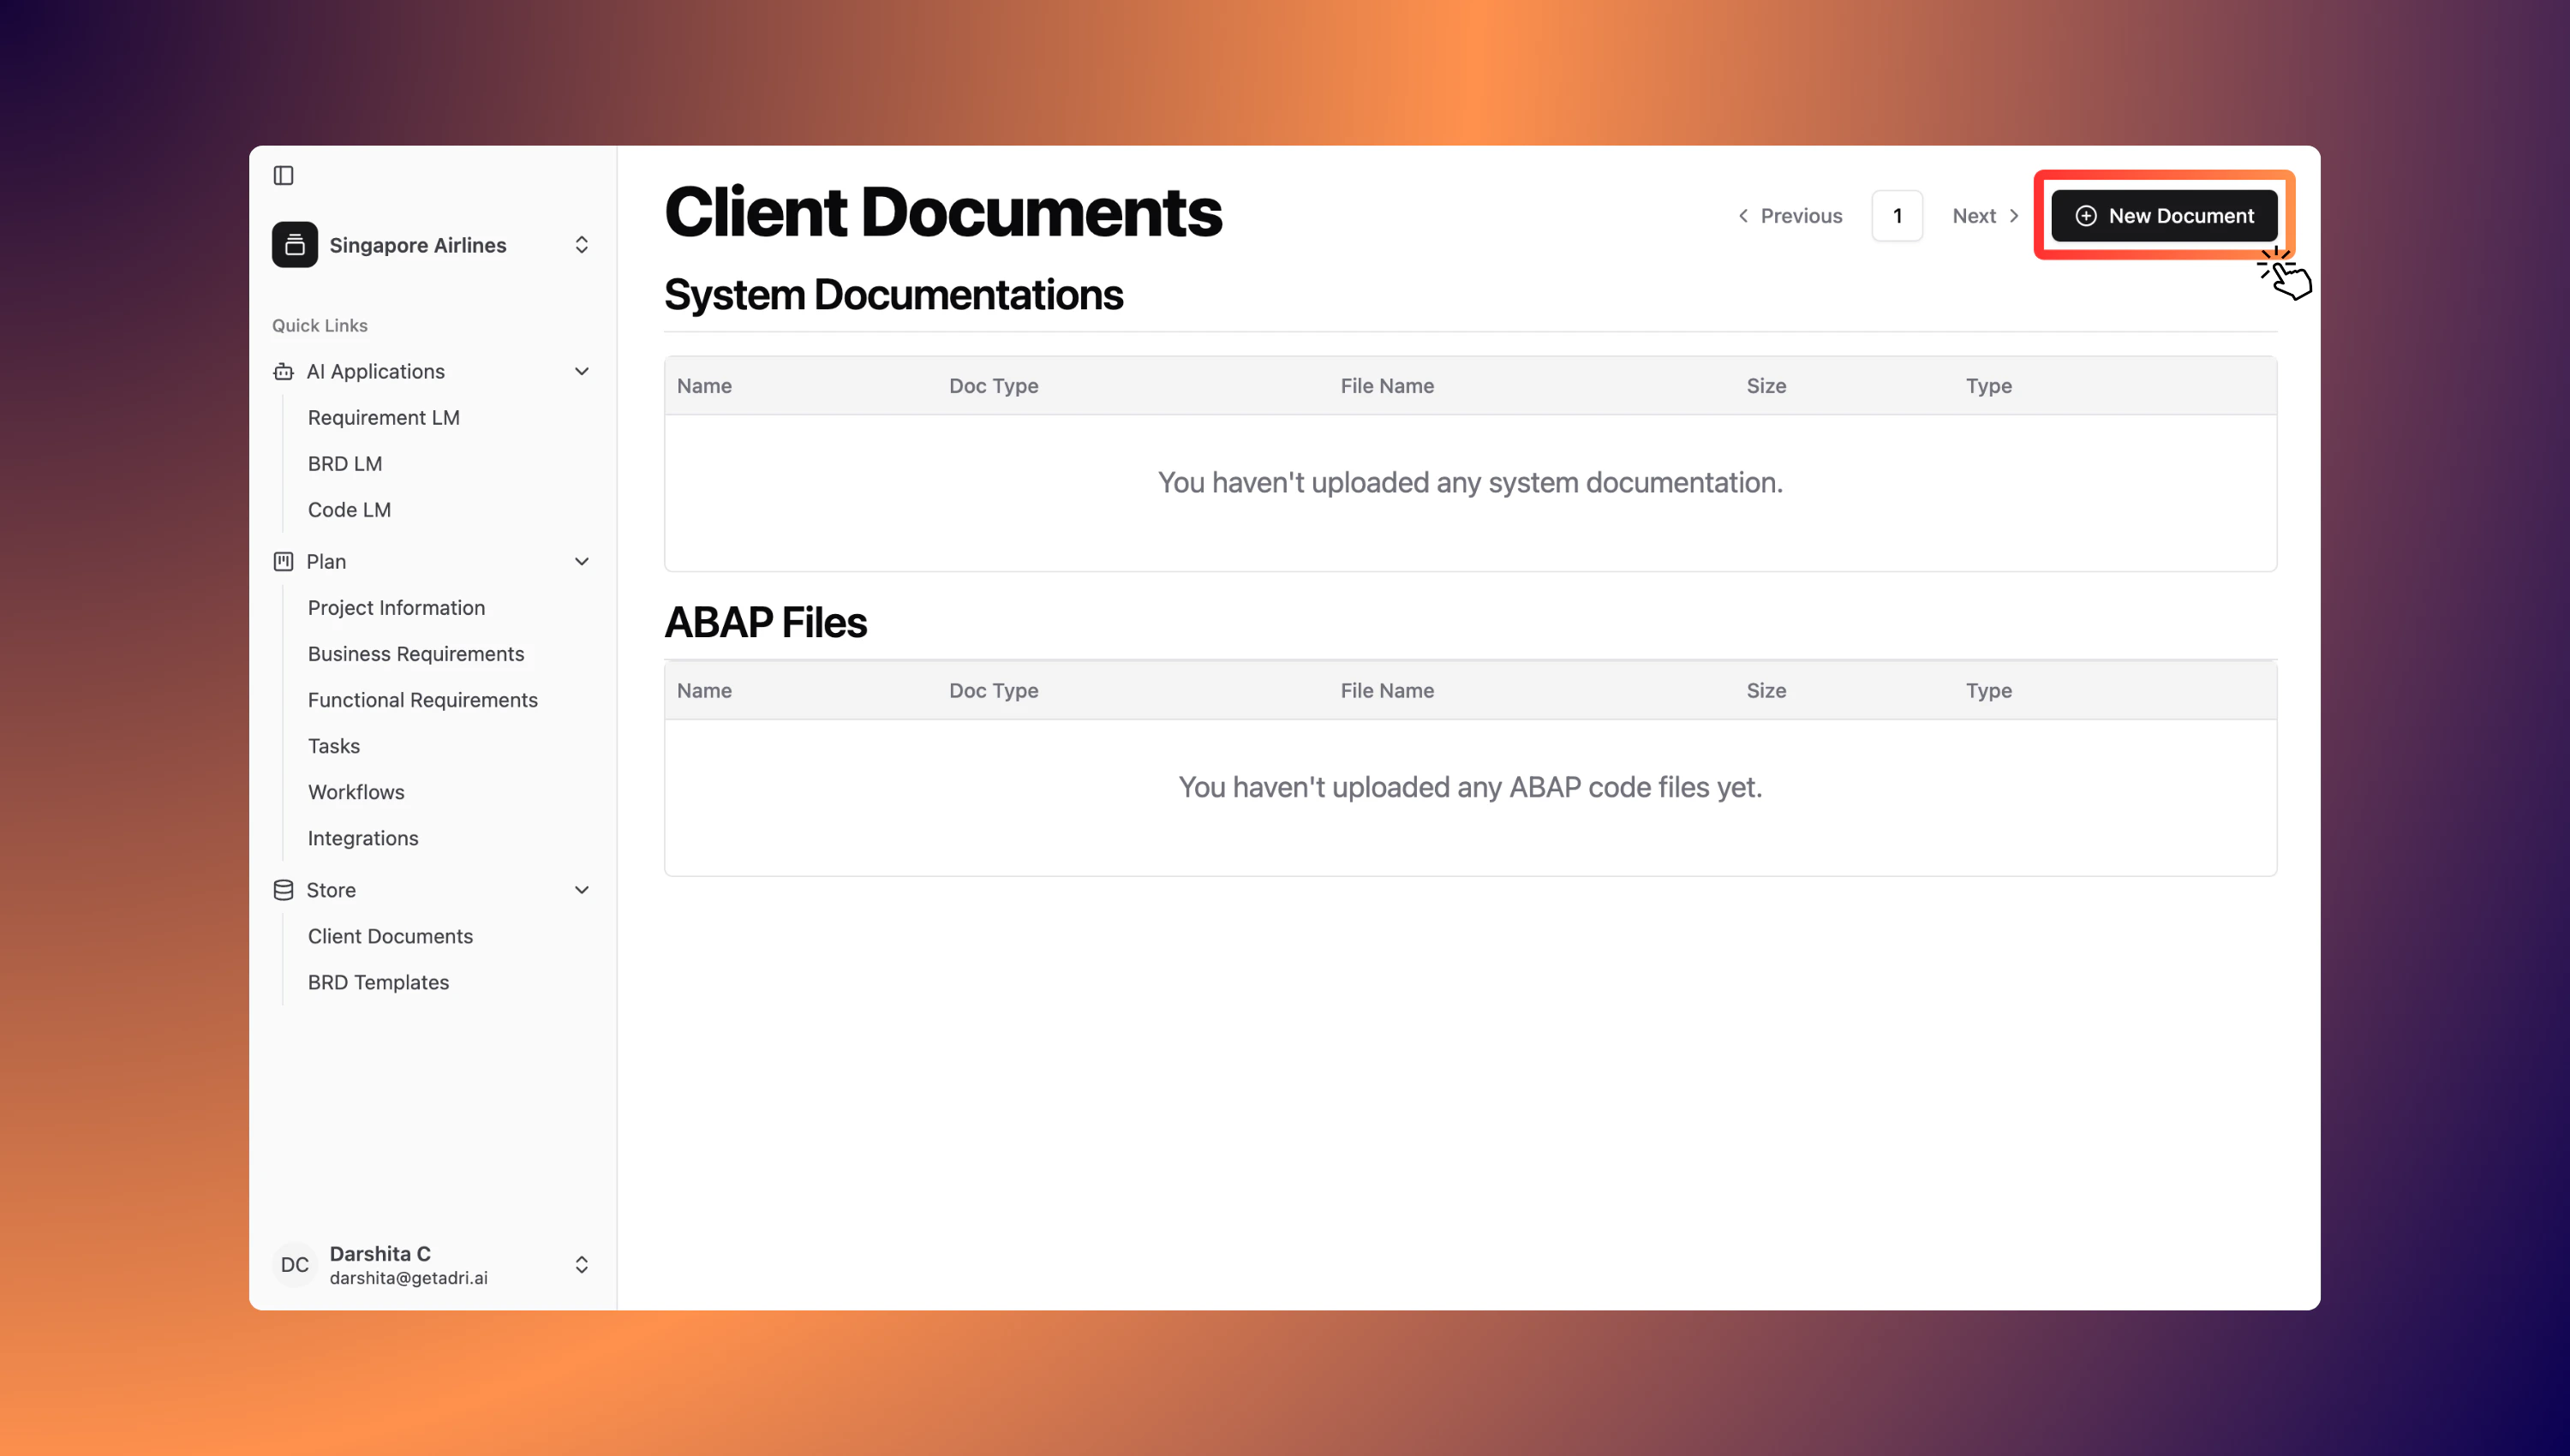
Step 2: Create a New Document
- Click the New Document button to begin uploading.
Step 3: Fill in Document Details
A dialog box will appear.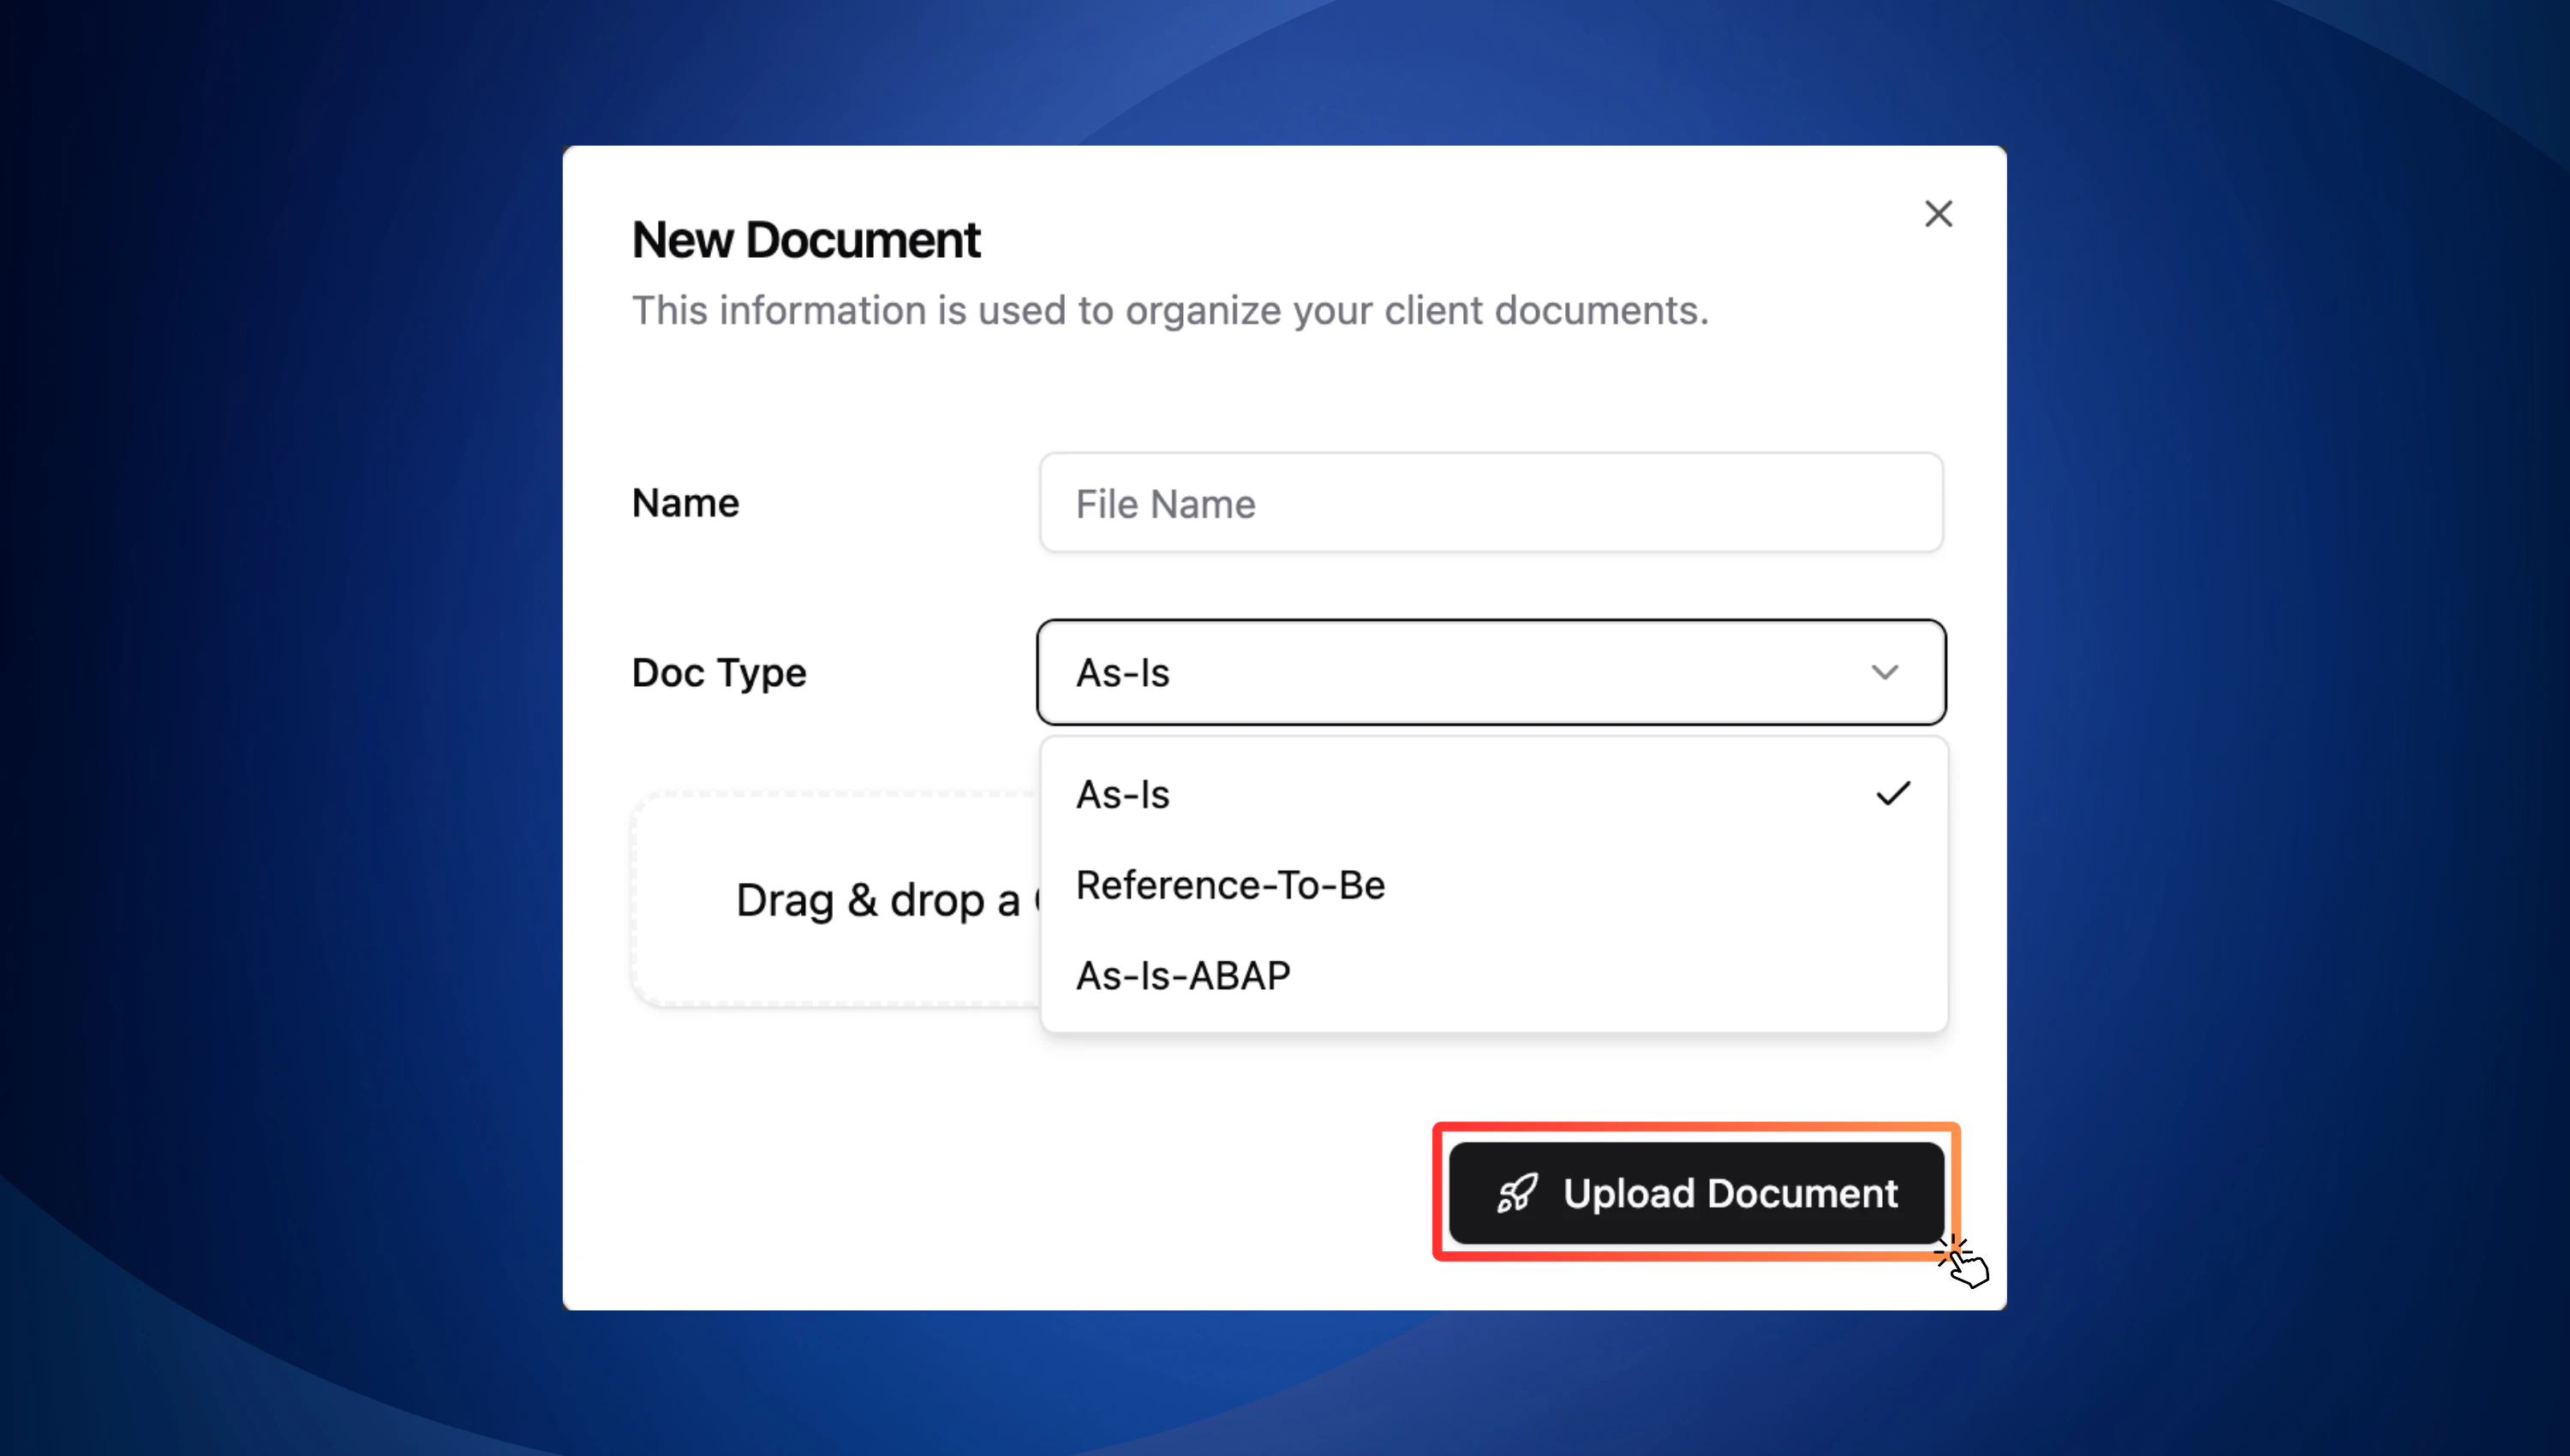
- File Name: Enter a meaningful name for the document.
- Upload Files: You can drag and drop your file or upload it from your file system.
-
Supported Document Types:
Select a document type from the list below. Each type helps agents process the content differently:
Document Type How it helps? Allowed file formats As-Is Describes the current system landscape and business processes .pdf, .docx Reference-To-Be Represents target design/process scenarios .pdf, .docx As-Is-ABAP Contains legacy ABAP code .abap
- Files of type As-Is and Reference-To-Be will be listed under the System Documentations table.
- Files of type As-Is-ABAP will appear in the ABAP Files table.
Your documents are now uploaded and categorized—this ensures that the agents can be activated successfully.